
Planning a shower remodel is about more than replacing old tile or installing a new fixture. The best shower renovations solve real household frustrations, whether that means stopping leaks, creating a safer entry, improving storage, or making cleanup less of a chore.
Before choosing colors, glass, or showerheads, define what is not working in the current space. A clear plan gives you a better way to compare estimates, make material decisions, and avoid costly changes after construction begins.
1. Start With the Problem
Write down the issues that affect your routine. Is the shower floor slippery? Does water pool near the drain? Is there nowhere to put shampoo? Is the threshold difficult to step over? Are cracked grout lines, stains, or recurring mildew signs of a deeper moisture problem?
Separate cosmetic wishes from performance needs. A new finish may improve appearance, but it will not correct poor drainage, deteriorated framing, weak ventilation, or a shower door that blocks the room. Prioritize the changes that will make the greatest difference every day.
2. Review the Existing Layout
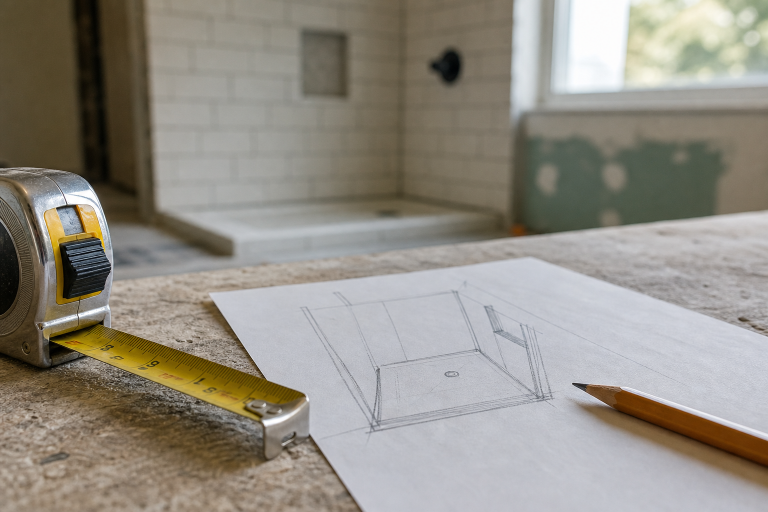
Measure the room before shopping for products. Record wall lengths, ceiling height, window locations, door swing, fixture locations, drain placement, and the distance between the shower and nearby fixtures. A basic scaled sketch can reveal whether a larger shower, bench, niche, or wider entry is actually practical.
Keeping supply lines and the drain close to their existing positions often reduces labor and wall or floor repair. Moving plumbing may still be worthwhile when it creates a safer or more useful layout, but it can add permits, demolition, and time. Confirm local requirements before finalizing the design.
3. Choose the Right Shower Type
The right shower style depends on available space, household needs, maintenance preferences, and budget. Consider the tradeoffs before committing to a layout.
- Standard shower: A practical choice when the current footprint works and the goal is an updated, watertight replacement.
- Tub-to-shower conversion: Can improve access and provide more shower room, although it may remove the home’s only bathtub.
- Walk-in shower: Usually has a low entry and can support flexible storage, seating, and glass configurations.
- Curbless shower: Creates a nearly step-free transition, but requires precise floor slope, drainage, and waterproofing details.
- Wet-room layout: Waterproofs a wider part of the bathroom and can create an open look, though it requires especially careful planning.
4. Plan for Comfort and Access
Accessible design is useful well before it becomes necessary. A low-entry, handheld showerhead, slip-resistant floor, reachable controls, bright lighting, and a built-in or fold-down seat can make bathing easier for people of many ages and abilities.
Ask the installer to reinforce the walls where future grab bars may be needed, even if you are not adding them now. The shower compartment guidance in ADA design standards can also help homeowners understand why clear floor space, control placement, seating, and support locations deserve early attention. Residential projects still need to follow applicable local code requirements.
5. Select Materials for Wet Areas
Choose materials based on water exposure, cleaning needs, slip resistance, repairability, and appearance. Tile offers flexibility in color and pattern, but it creates grout joints that need regular care. Large-format panels or solid wall systems can reduce seams and simplify cleaning.
- Choose flooring intended for wet areas with suitable traction.
- Match grout, sealants, and trim to repeated water exposure.
- Confirm that wall finishes are compatible with the selected waterproofing system.
- Plan niches, shelves, hooks, and towel storage before walls are closed.
- Select fixture finishes that fit the cleaning routine you will realistically maintain.
6. Build a Realistic Budget
A complete budget includes more than visible materials. Account for demolition, disposal, waterproofing, plumbing, electrical work, ventilation, framing repairs, permits, glass, fixtures, finish materials, labor, cleanup, and a contingency for hidden damage.
Compare complete scopes instead of comparing one low number against another. A quote should identify what is included, what products are allowances, who handles permits, and how unexpected repairs will be approved. A lower initial estimate can become expensive if it leaves out required work.
7. Understand the Installation Process
- Inspect the room and confirm the scope, measurements, and selections.
- Order materials, secure permits, and schedule the work.
- Remove the old shower and inspect framing, plumbing, wiring, and subfloor conditions.
- Complete necessary repairs and install the drainage and waterproofing system.
- Add wall surfaces, flooring, fixtures, glass, accessories, and sealants.
- Test water flow, drainage, door operation, and finished seals before final cleanup.
Ventilation belongs in this process, not at the end as an optional add-on. The EPA notes that bathroom ventilation removes unwanted moisture and should exhaust outdoors rather than into an attic or another enclosed area.
8. Avoid Common Planning Mistakes
- Choosing a layout before taking accurate measurements.
- Treating waterproofing as an upgrade instead of a core system.
- Ignoring ventilation, lighting, and the shower door swing.
- Approving vague contract language for hidden damage or repairs.
- Adding too little storage or placing shelves where they collect standing water.
- Selecting attractive finishes that do not match your tolerance for cleaning and maintenance.
9. Ask the Right Contractor Questions
- What waterproofing method will be used, and how will it connect to the drain?
- Who handles plumbing, electrical work, permits, and inspections?
- How will hidden damage be documented and priced?
- What could change the schedule or final cost?
- How long will the bathroom be out of service?
- Who protects nearby rooms, removes debris, and completes cleanup?
- What care instructions and written warranty terms are included?
10. Use a Final Planning Checklist
- Finalized layout, shower type, entry height, and door operation.
- Confirmed drainage, waterproofing, ventilation, and lighting plan.
- Selected storage, fixtures, wall finishes, flooring, and hardware.
- Written budget covering labor, materials, permits, repairs, cleanup, and payment stages.
- Clear project schedule, communication plan, and warranty details.
Conclusion
A successful shower remodel begins with careful planning rather than a rushed product decision. When you define the real problems, review the layout, prioritize safe access, choose durable materials, and request a detailed scope, you can create a shower that looks better and works better every day.
About the Author