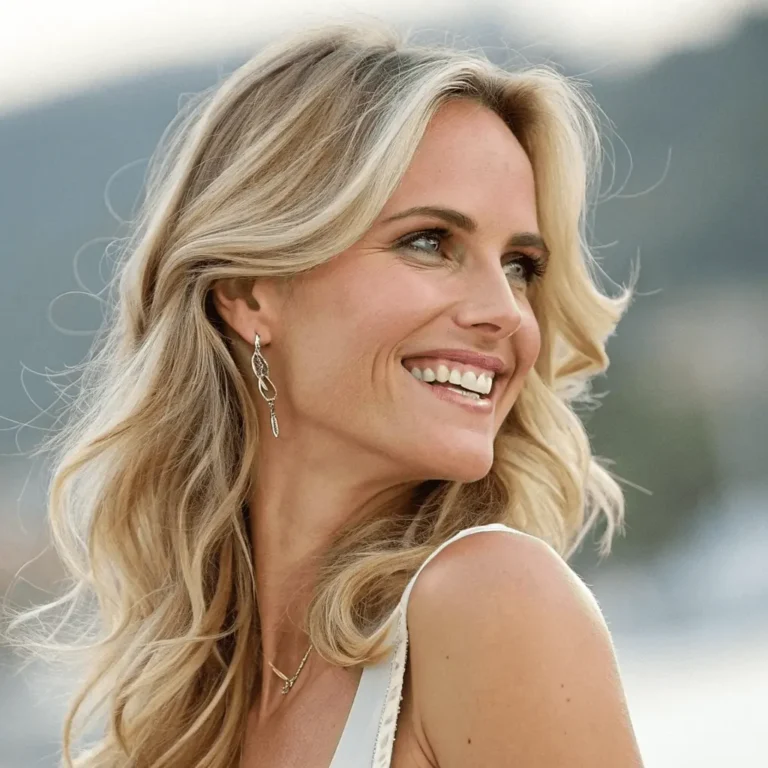
You know that frustrating moment when you adjust your skin tone in a picture, and suddenly you look like you belong in a completely different scene? The lighting says “sunny afternoon,” but your face says “midnight studio shoot.” This mismatch happens because skin tone and lighting are inseparable partners – they need to work together to create believable results.
The secret isn’t just picking a shade you like. You need to match that shade to the specific light hitting you in the frame. Services like retouchme.com/service/change-skin-color-app work best when you understand how natural illumination affects skin appearance, because even professional manual adjustments require the right direction to look authentic.
Reading Your Light Source
Before touching any settings, figure out what kind of natural light you’re dealing with. Golden hour creates warm, peachy undertones across skin. Overcast days produce cooler, slightly muted tones with minimal contrast. Direct midday sun adds brightness but can create harsh shadows that affect how your complexion reads.
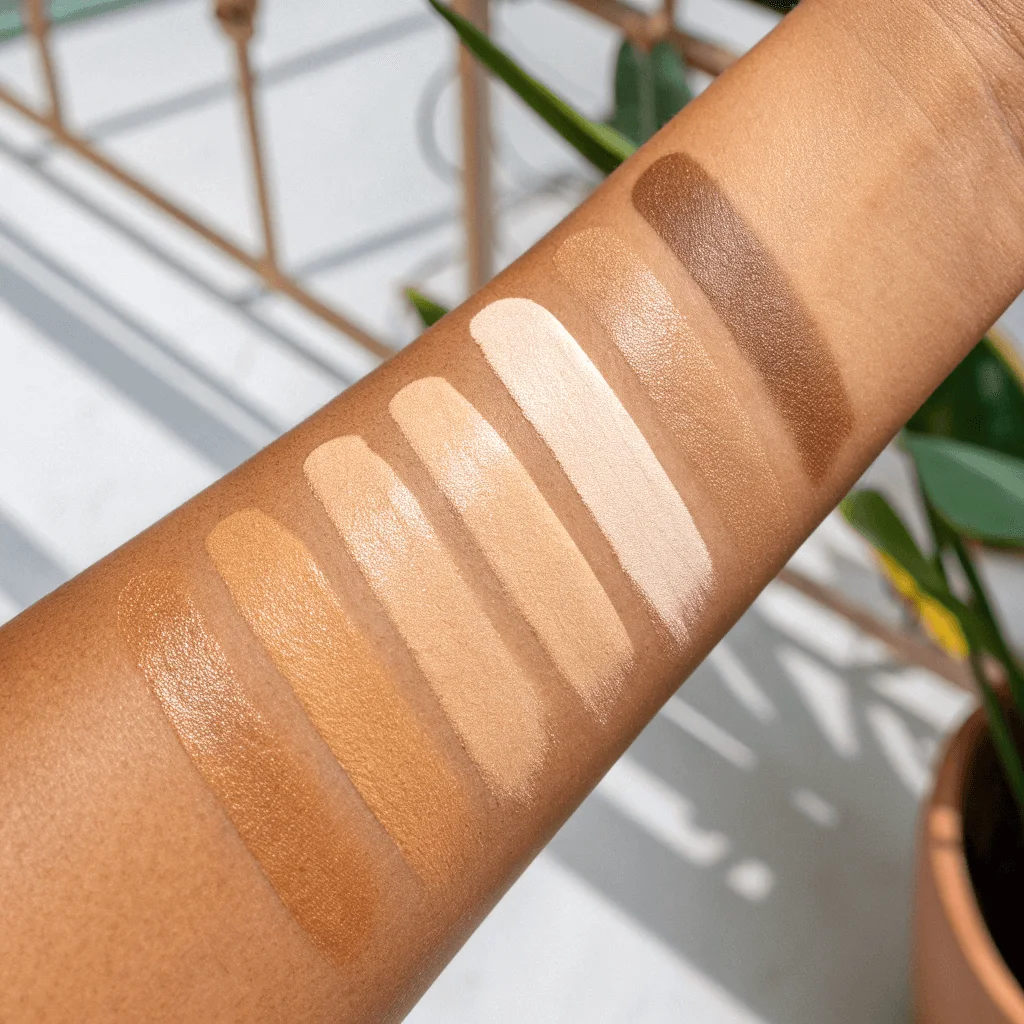
Look at the brightest parts of your face in the original image. Are they yellowish? Bluish? Neutral? Your adjusted tone needs to maintain this same temperature relationship, just at a different intensity level. If your highlights are warm but you pick a cool-toned adjustment, you’ll end up looking pasted into the scene rather than naturally part of it.
Practical Adjustment Strategies
Matching tone to light requires thinking about multiple facial zones simultaneously. Your forehead might catch direct sun while your jawline sits in partial shadow—these areas need different treatment:
- Check where the brightest illumination hits and make sure those zones reflect the warmth or coolness of your light source, since mismatched highlights immediately signal artificial adjustment.
- Observe shadow areas under your chin or beside your nose, then ensure your new tone maintains similar depth in these spots relative to brighter regions.
- Compare your skin against other elements in the frame like clothing or background objects that share the same lighting, which helps verify your adjustment fits the scene.
RetouchMe’s professional editors understand these subtleties and manually balance tone adjustments with existing light conditions for seamless results.
Testing for Believability
After making adjustments, step back and squint at your image. Does your face still feel like it belongs in that specific moment and place? If the rest of the scene looks like late afternoon but your skin screams midday brightness, something’s off. Trust your gut reaction – if it feels weird at first glance, viewers will notice too.
Pay attention to the transition zones between your skin and hair, or where your face meets your neck. These boundaries should flow naturally without abrupt tone shifts. Your adjusted complexion should respond to the same directional light as everything else in the frame, creating cohesion rather than standing out as an isolated element that doesn’t quite fit the environment.