Video content usually begins with a very definite concept, but the end product usually does not appear as slick as it should. You might observe irrelevant pauses, inconsistent flow, low sound level, or framing problems that distract from the message.
Meanwhile, when you have a simple objective, complicated editing software may overwhelm you. Consequently, rather than enhancing the video, the process adds confusion and stifles progress.
Due to this, the discrepancy between what you record and what you want to share creates tension and delays. The best way to overcome these problems is to adopt a practical MP4 editing approach that involves doing the bare minimum editing, including cutting, tone adjustment, and polishing images.
With a definite series of steps, you regain control of the video without wasting time on needless technical work, and the process of editing becomes more efficient and predictable. The following sections outline practical steps to use the MP4 editor that help you edit with clarity and control.
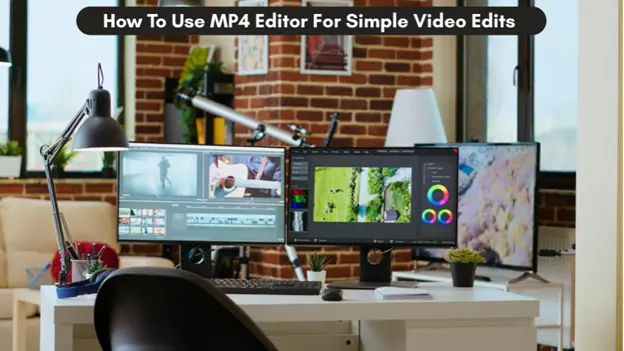
1. Upload MP4 File and Access Editor Workspace
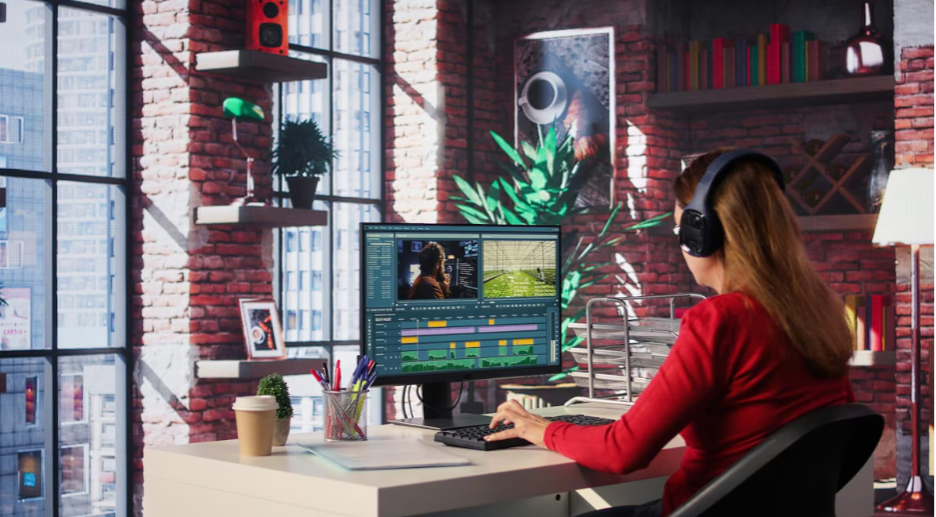
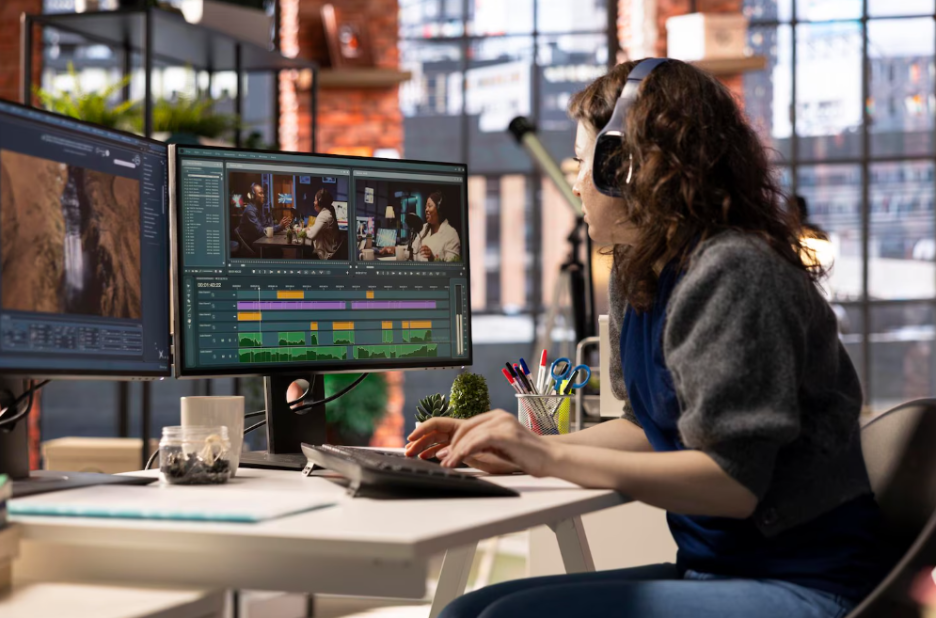
First, you should upload your video to an online MP4 editor that allows editing on the browser. After loading the file, the editor opens a workspace with a preview screen and a timeline in which you can view the structure of the video in a clear manner prior to making any changes.
At this point, play the video within the editor. This first review will enable you to find out pacing problems, silent parts, or parts that appear visually imbalanced. Since the editor is online, you just go into editing without the need to install software and set up any settings.
Such an arrangement keeps you concentrated on direct video edits instead of technical preparation, which helps you build valuable improvements more quickly.
2. Trim and Cut Video to Remove Distractions
Once you have watched the entire clip, begin to cut away parts that disrupt the flow. The timeline will help to trim lengthy introductions, unnecessary pauses, or repeated footage that does not contribute to the message.
The majority of online MP4 editors enable you to split clips at specific locations. The video is made more precise by cutting and removing what is unnecessary. And do not forget to replay the surrounding section after every trim has been done, so that transitions are natural.
This step is usually sufficient to maintain greater clarity than any visual effect, which simplifies the content.
3. Crop and Resize Video for Better Framing
When the structure feels correct, make changes to the framing where necessary. Cropping can be used to remove the parts of the background that are not desired or to re-center the subject when the framing of the original image does not work.
Additionally, resizing tools give you the ability to adjust the aspect ratios based on the location of the video. Horizontal formats are more suitable for websites or presentations, whereas vertical formats are more appropriate for mobile platforms. These adjustments within the editor ensure that no distortion is created and that there is visual balance.
Hence, by focusing on framing early on, you can make the video appear purposeful in a variety of viewing contexts.
4. Adjust Audio Levels and Add Supporting Sound
Then, pay attention to audio consistency. Control the levels of the volume to prevent any abrupt variations that can distract the viewer. If background noise is present, it is best to reduce it a little, but not to change the natural sound.
Certain MP4 editors will also allow the addition of background music or other audio tracks. Use sound subtly when applying it because it should complement and not override the message. Also, test audio adjustment and visuals to ensure balance.
As a result, clear and constant audio reinforces the entire viewing experience and helps to remain focused on the content.
5. Add Text Elements Where Clarity Is Needed

Text overlay is used to add context, labels, or a short description. Limit the text and make it readable with a good contrast between it and the background that makes it visible when the display size and the ambient light change.
Moreover, insert text in areas that are in line with the visual flow as opposed to obstructing significant information. Most editors enable you to change font style, font size, font positioning, and font timing, and it is easier to align text to certain events in the video and have a visual balance.
This step works best when text reinforces the message, supports understanding, and adds clarity instead of repeating what is already obvious.
6. Export MP4 and Review Final Output
After completing edits, export the video in MP4 format to ensure compatibility across platforms. Choose settings that balance quality and file size based on how the video is shared. Pay attention to resolution, frame rate, and audio clarity to maintain a consistent viewing experience.
Once exported, watch the video outside the editor. This final review helps confirm that trims, audio levels, text placement, and framing appear as expected across different screens. Noting small issues at this stage prevents re-editing later and avoids inconsistencies during playback.
A careful export and review step ensures the video is ready for use without further adjustments.
Bottomline
Editing an MP4 video does not need to feel complex or time-consuming. When you focus on essential actions—uploading the file, trimming distractions, adjusting audio, refining visuals, and exporting with care—the process becomes structured and manageable. Each step builds on the previous one, helping you improve clarity without adding unnecessary effort.
By following a clear editing sequence and using only the tools that support your goal, you maintain control over both the workflow and the final output. This practical approach keeps video edits purposeful, efficient, and aligned with how your content is meant to be seen and understood.